
Copilot in VS Code
This guide helps you order GitHub Copilot, sign in correctly, and use Copilot effectively in your codebase—especially if you're new to the project or to Copilot.
Step 1: Order GitHub Copilot
- Order GitHub Enterprise access:
- In IDM, go to "System Access" → "GitHub"
- Order GitHub Copilot Enterprise Plan (not GitHub Copilot Business Standalone):
- In IDM, go to "Order" → "New Order" → "GitHub Teams" → "msg.P.ZT.GitHubEnterprise.Copilot"
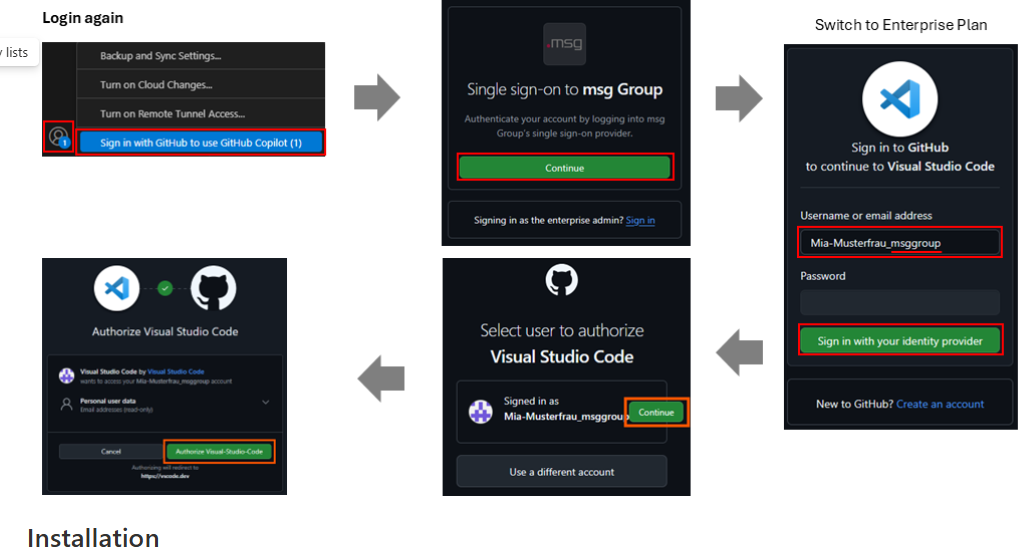
Step 2: Sign in to Visual Studio Code
Switching between Copilot variants
- Use this username format:
Firstname-Lastname_msggroup
Step 3: Use Copilot in Your Source Code
Copilot as code suggestion tool
Official Documentation on using Copilot in VS Code
Chat with Copilot
Official Documentation on using Copilot Chat
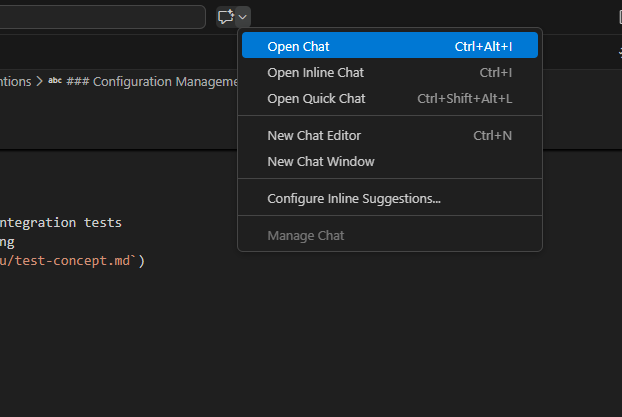
Add Repository-Wide Custom Instructions
Official Documentation on Repository Instructions
- Onboard AI into your codebase using "Generate AI instructions"
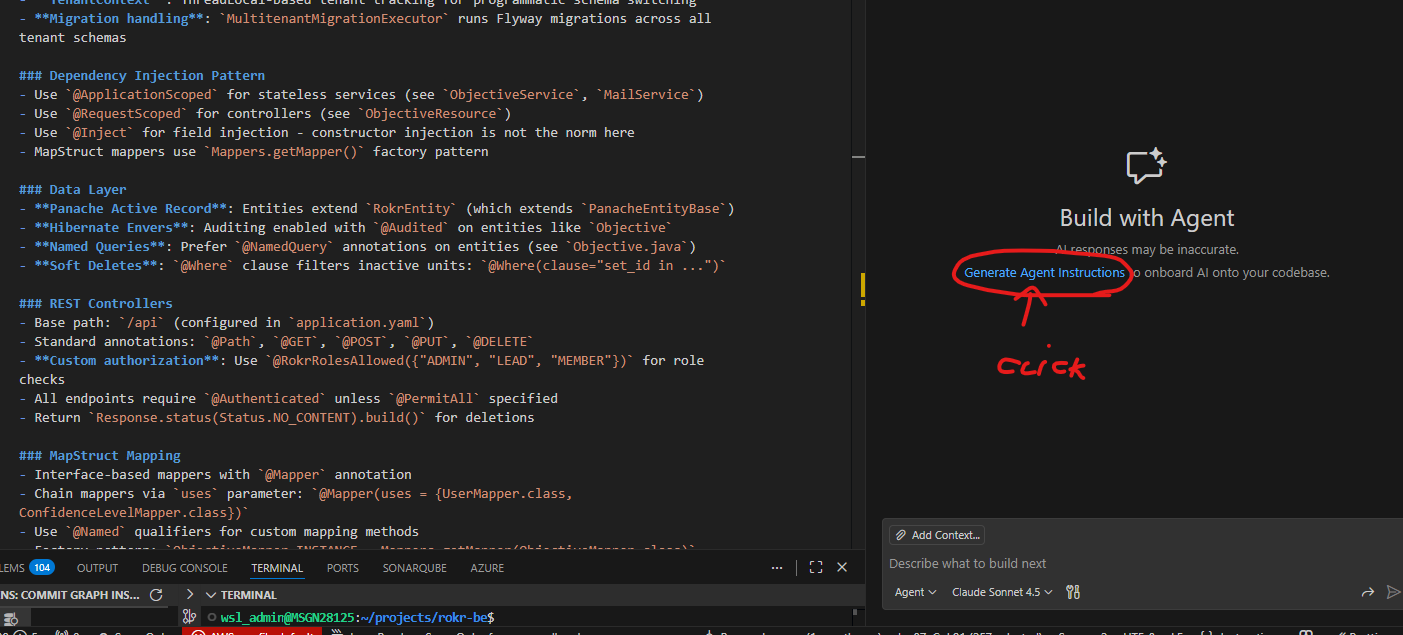
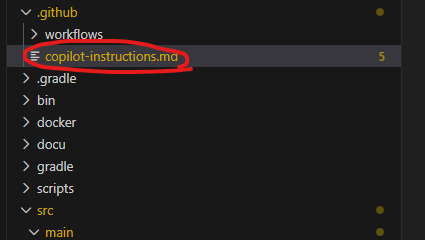
- A summary of the project is generated at
.github/copilot-instructions.md
- Use
.github/copilot-instructions.mdas context in chat. Optionally, also add theREADME.mdfile if the project has one.
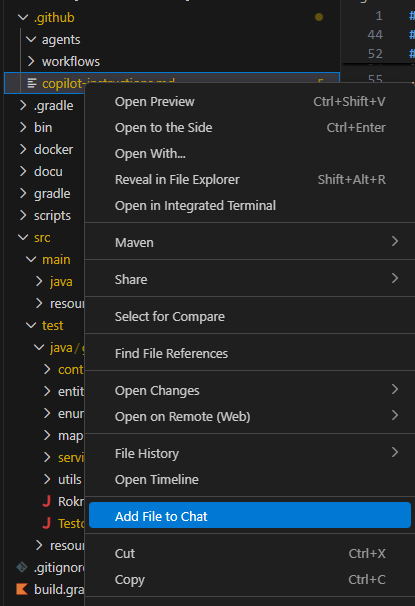
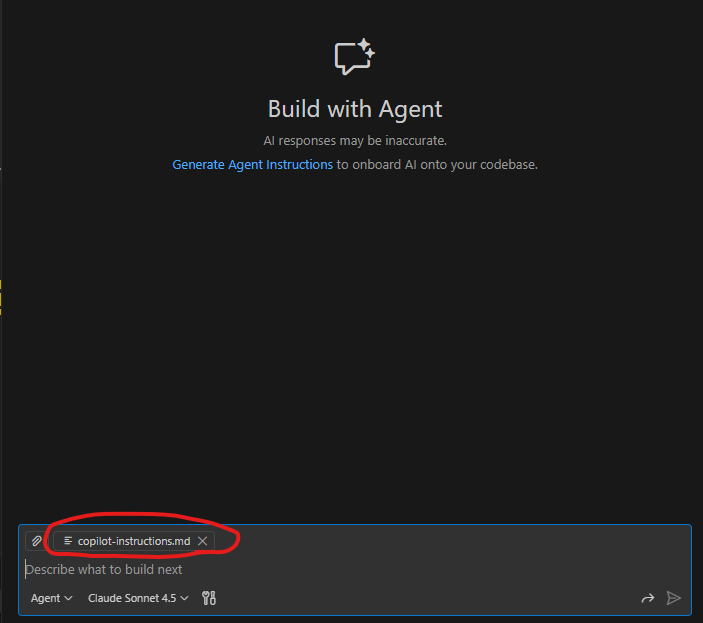
[!TIP] Commit this
copilot-instructions.mdfile to the repository so the whole team uses the same instructions
Step 4: Prompting
Prompt Best Practices
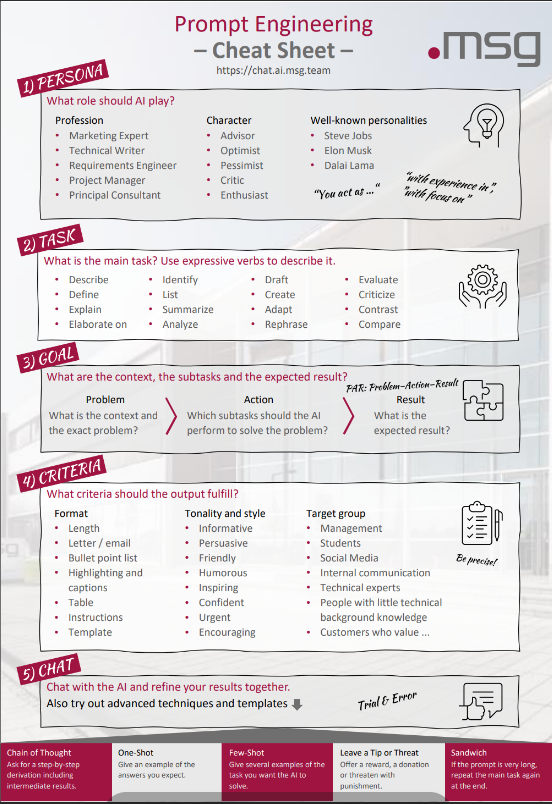
Examples
Example 1: Onboard in an existing codebase
- Copy and paste the prompt below into Copilot Chat. In this example, the
Update Candidateuser flow is explored. - Use "Ask" mode.
You are onboarding me as a junior developer.

Using the rules and architecture described in copilot-instructions.md, explain how the
"Update Candidate" business scenario is implemented in this codebase.

1. Describe the end-to-end flow starting from the API/controller layer.
2. Explain which files and layers are involved and why.
3. Explain the business rules enforced (not just technical steps).
4. Point out where validations, permissions, and side effects happen.
5. Highlight anything that would be easy for a junior developer to misunderstand.

Assume I am new to both the project and Copilot.
Use simple, concrete language.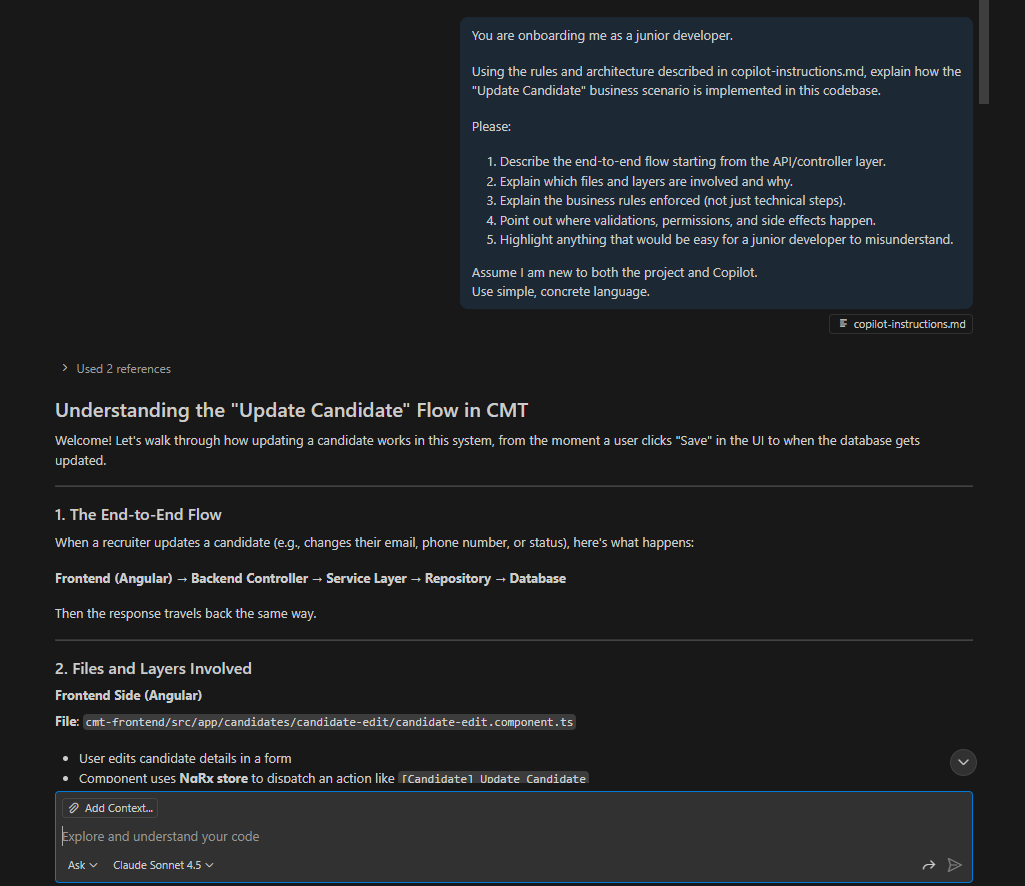
- Further reading: Tutorial for exploring a codebase
Example 2: Generate a backend unit test for a controller
- First, identify missing unit tests (use "Plan" mode). In this example, the
Save Candidateuser flow is examined.
Prompt 1:
Create a plan to improve unit test coverage for the saveCandidate service

1. Identify the main business scenarios handled by saveCandidate.
2. Check which of these scenarios are not currently covered by unit tests.
3. Propose a list of missing test cases, including:
   - happy path scenarios
   - business rule or validation failures
   - error cases (for example, when a dependency fails)
4. For each proposed test case, briefly explain what should be verified.

Do NOT write test code.
Assume I am a junior developer and keep explanations clear and simple.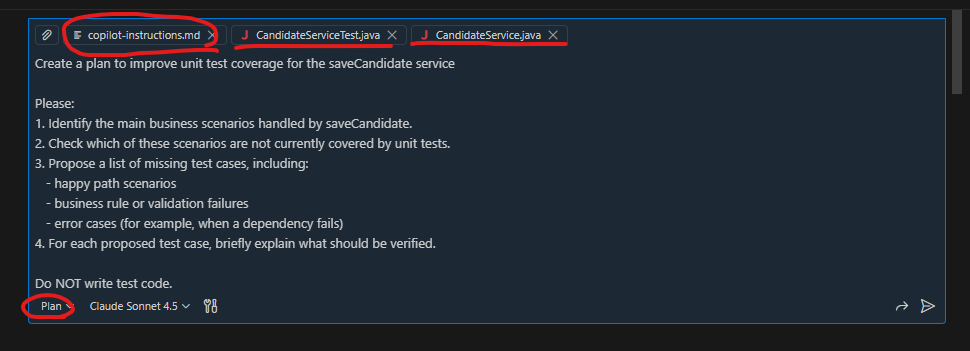
- Verify the plan, then generate one test (use "Ask" mode).
Prompt 2:
Using the plan above, write a unit test for Test 3: saveCandidate_withSkills_shouldSaveCorrectly.

Rules:
- Do NOT change production code. Tests only.
- Follow the testing style, tools, and naming conventions
- Mock all external dependencies.

- Implement the proposed test case
- Use Arrange / Act / Assert.
- Keep tests readable and add short comments explaining each test.

Output the complete test code.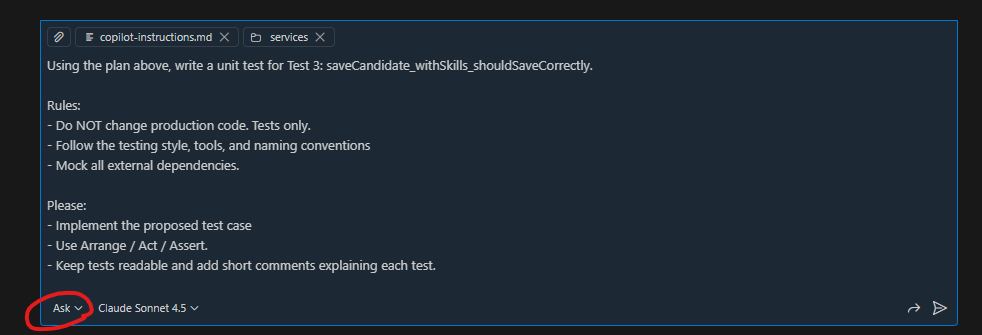
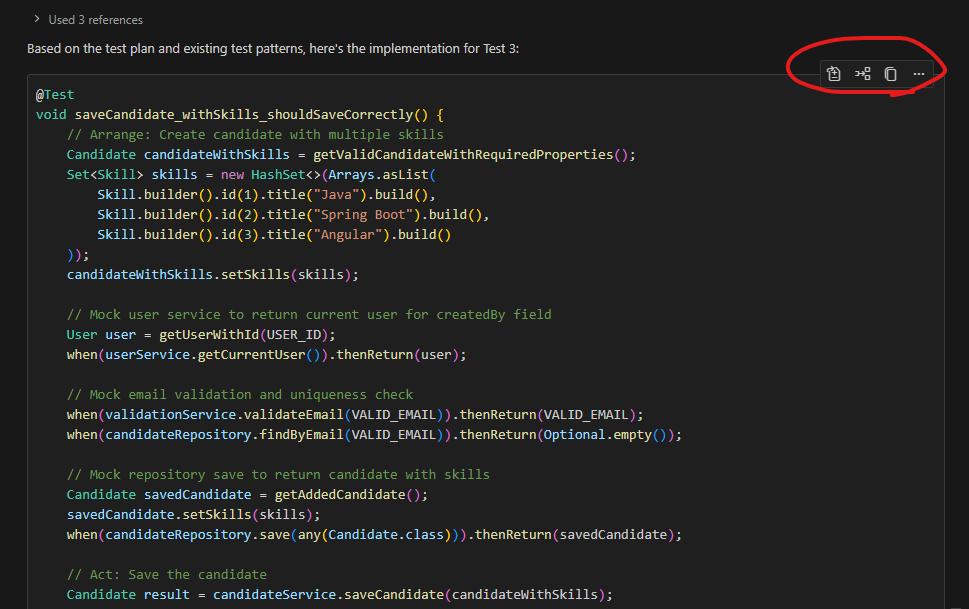
- Run the test code
- You can copy and paste the generated code and run it yourself.
- Further reading: Writing unit tests with Copilot Chat
[!TIP] Instead of copy-pasting, let Copilot assist using Agent mode. This will be discussed in a later section.